
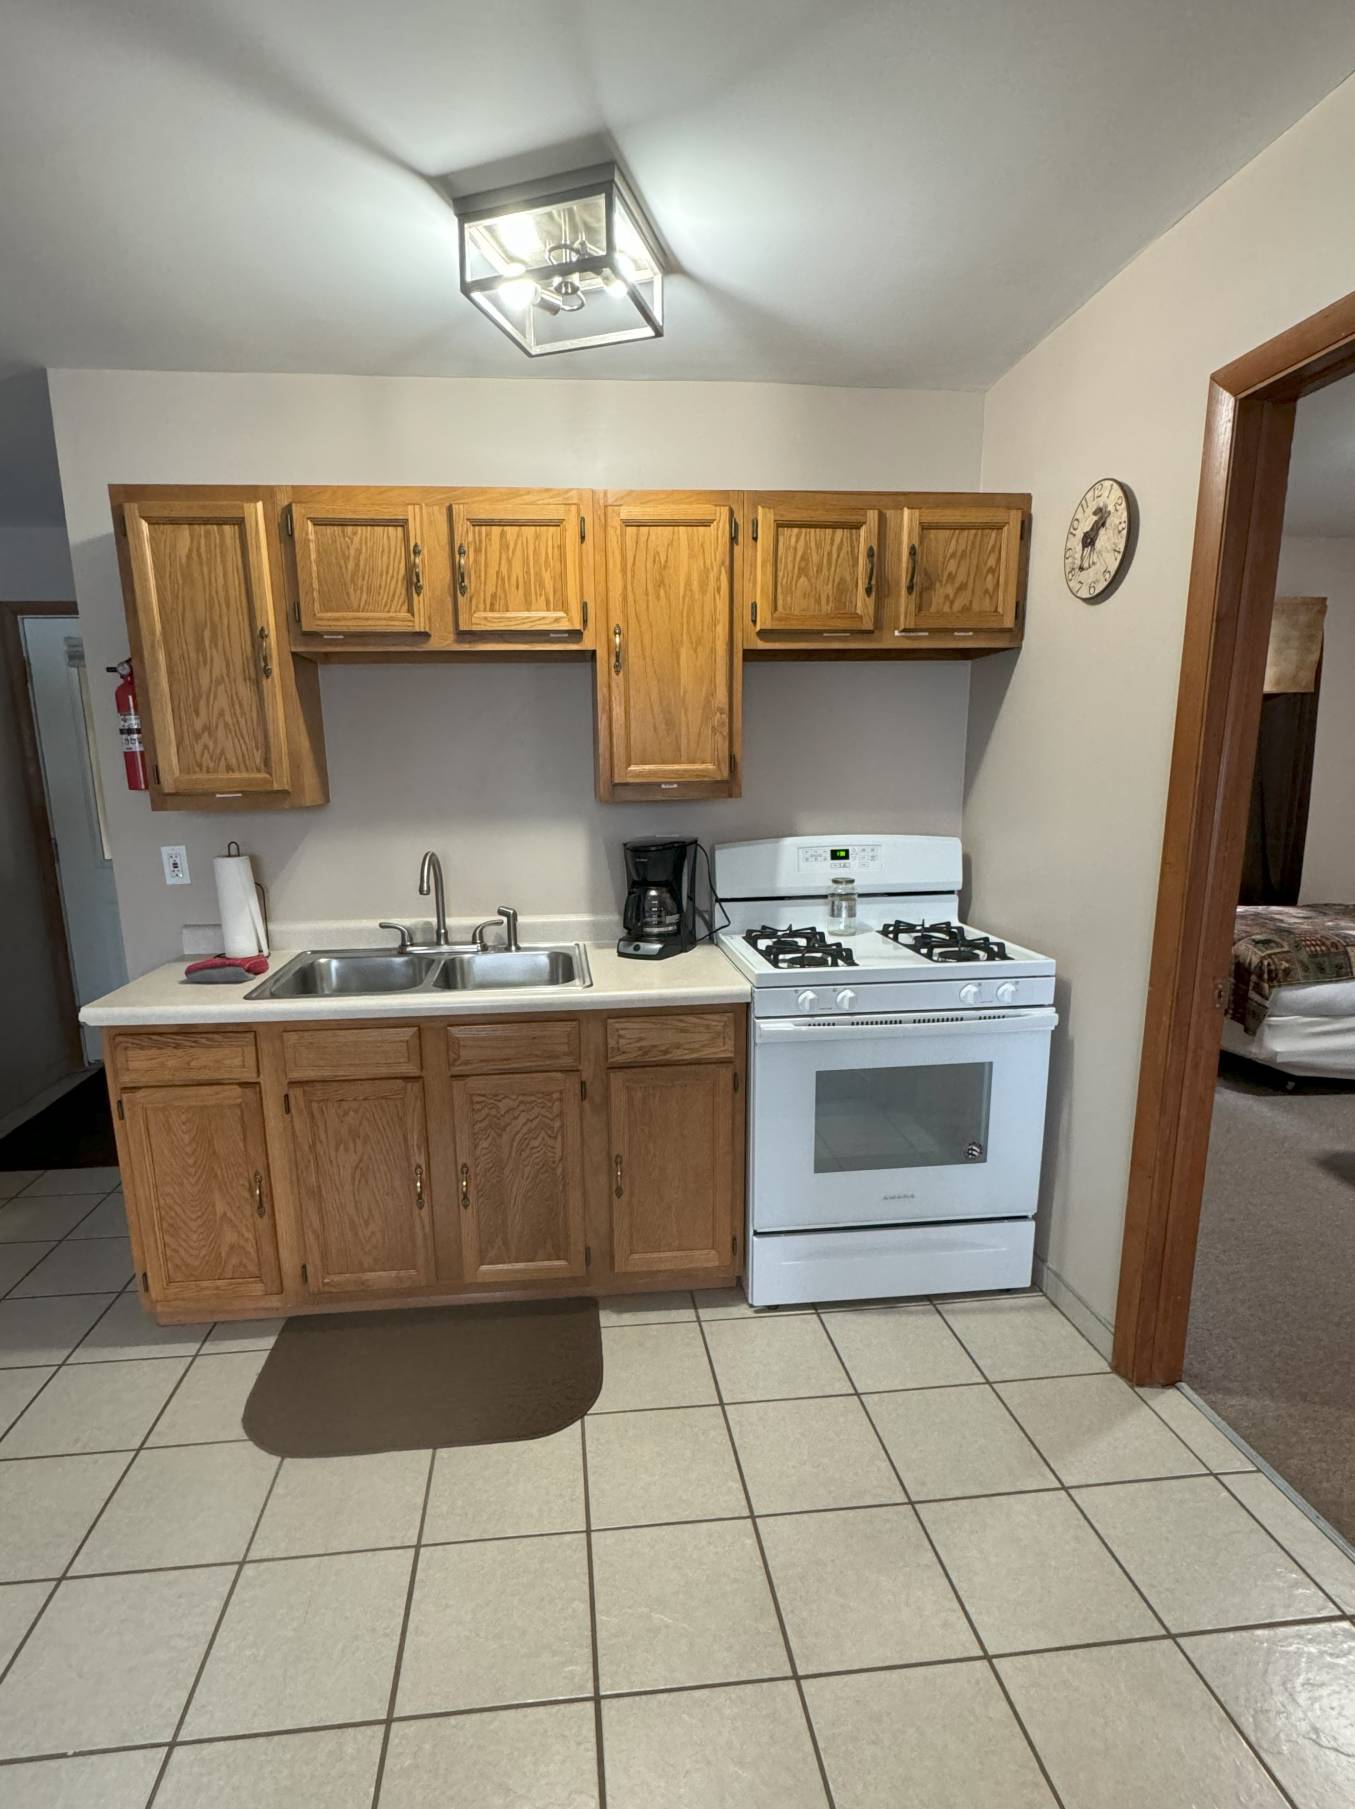
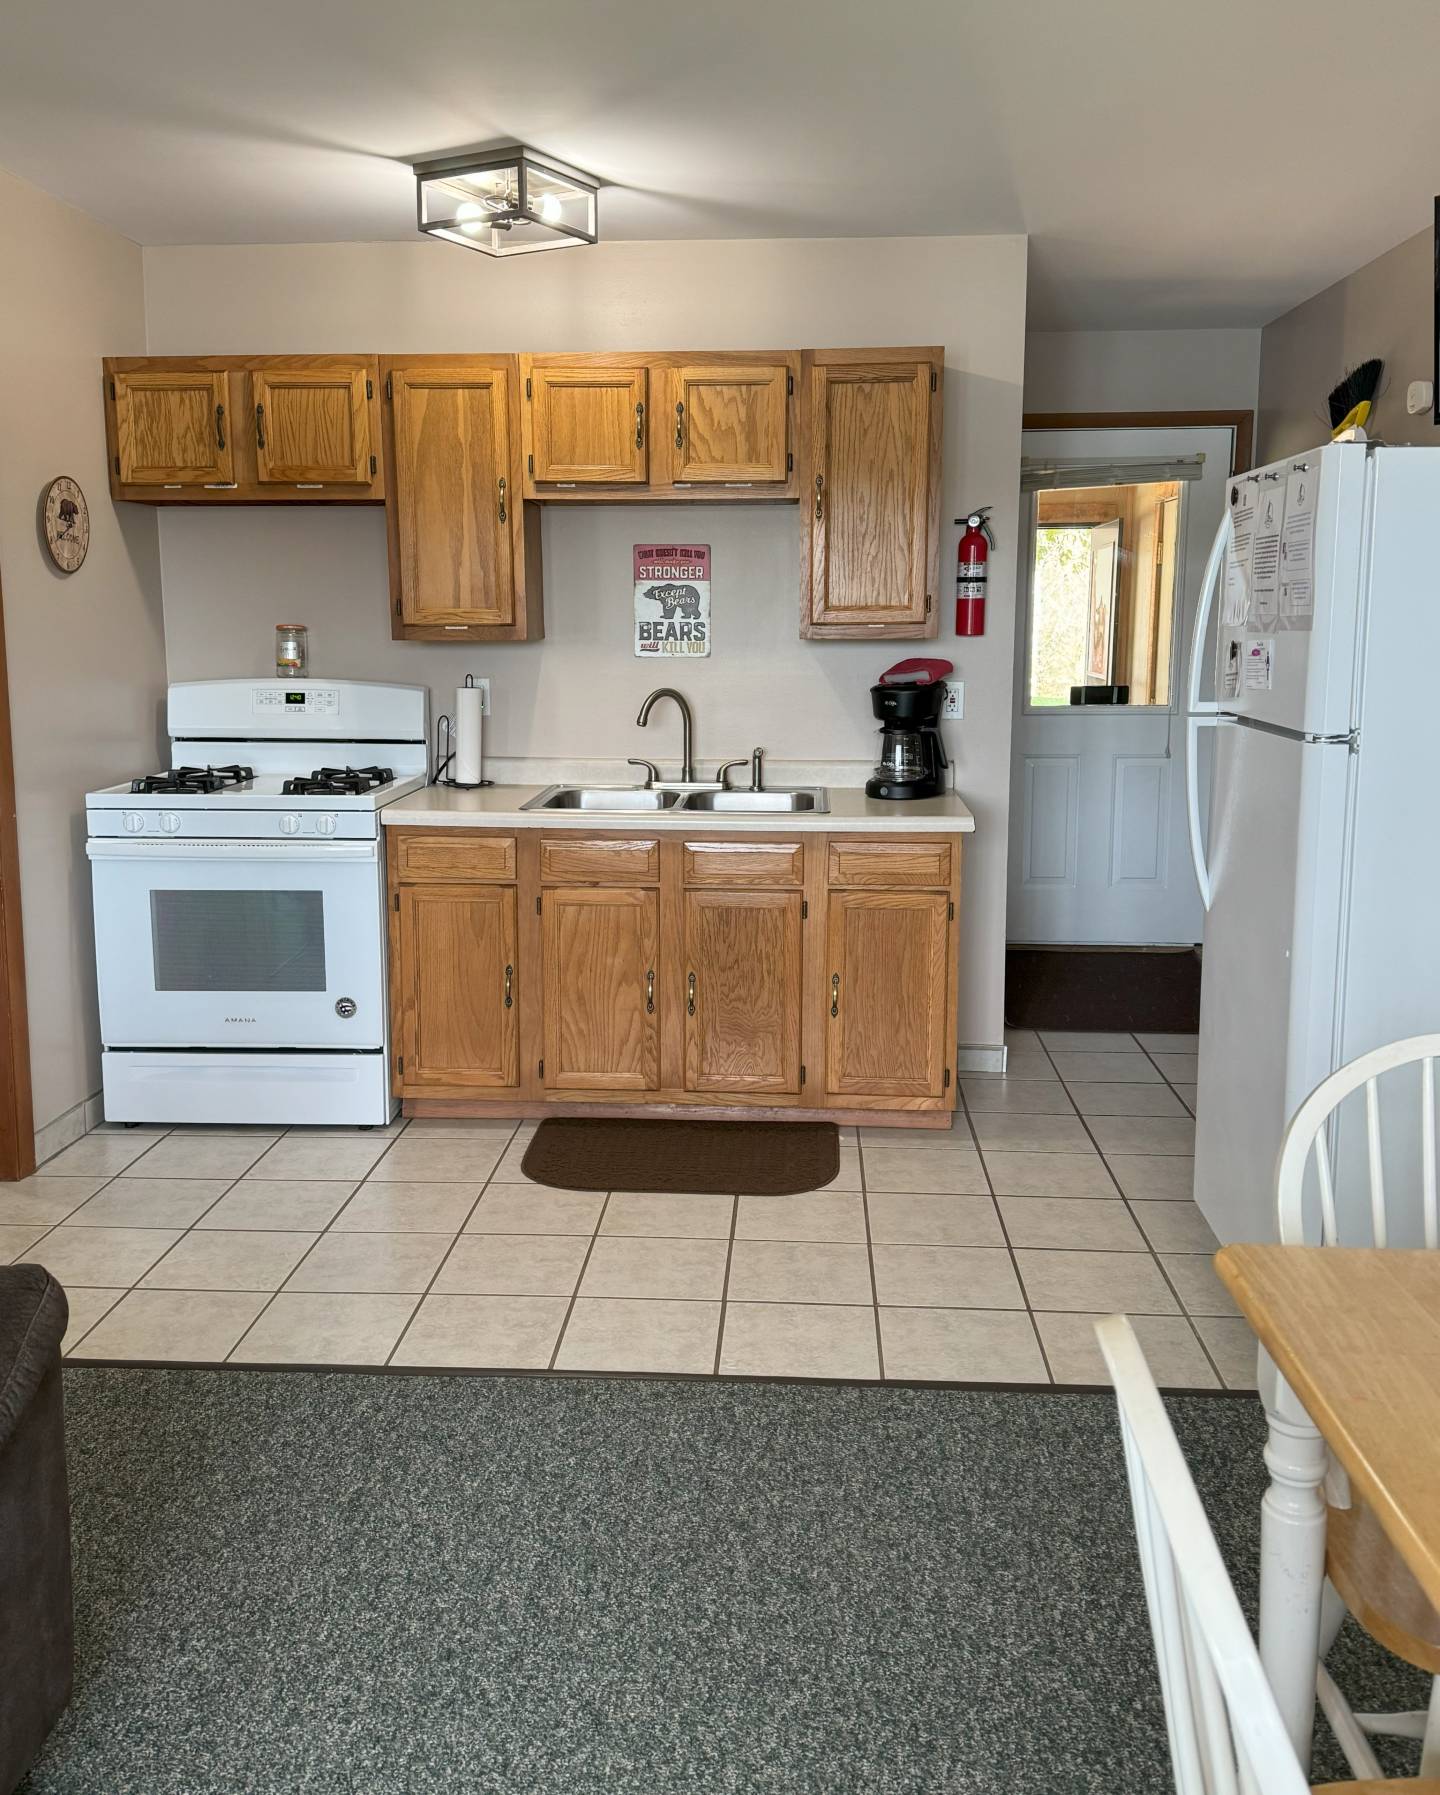
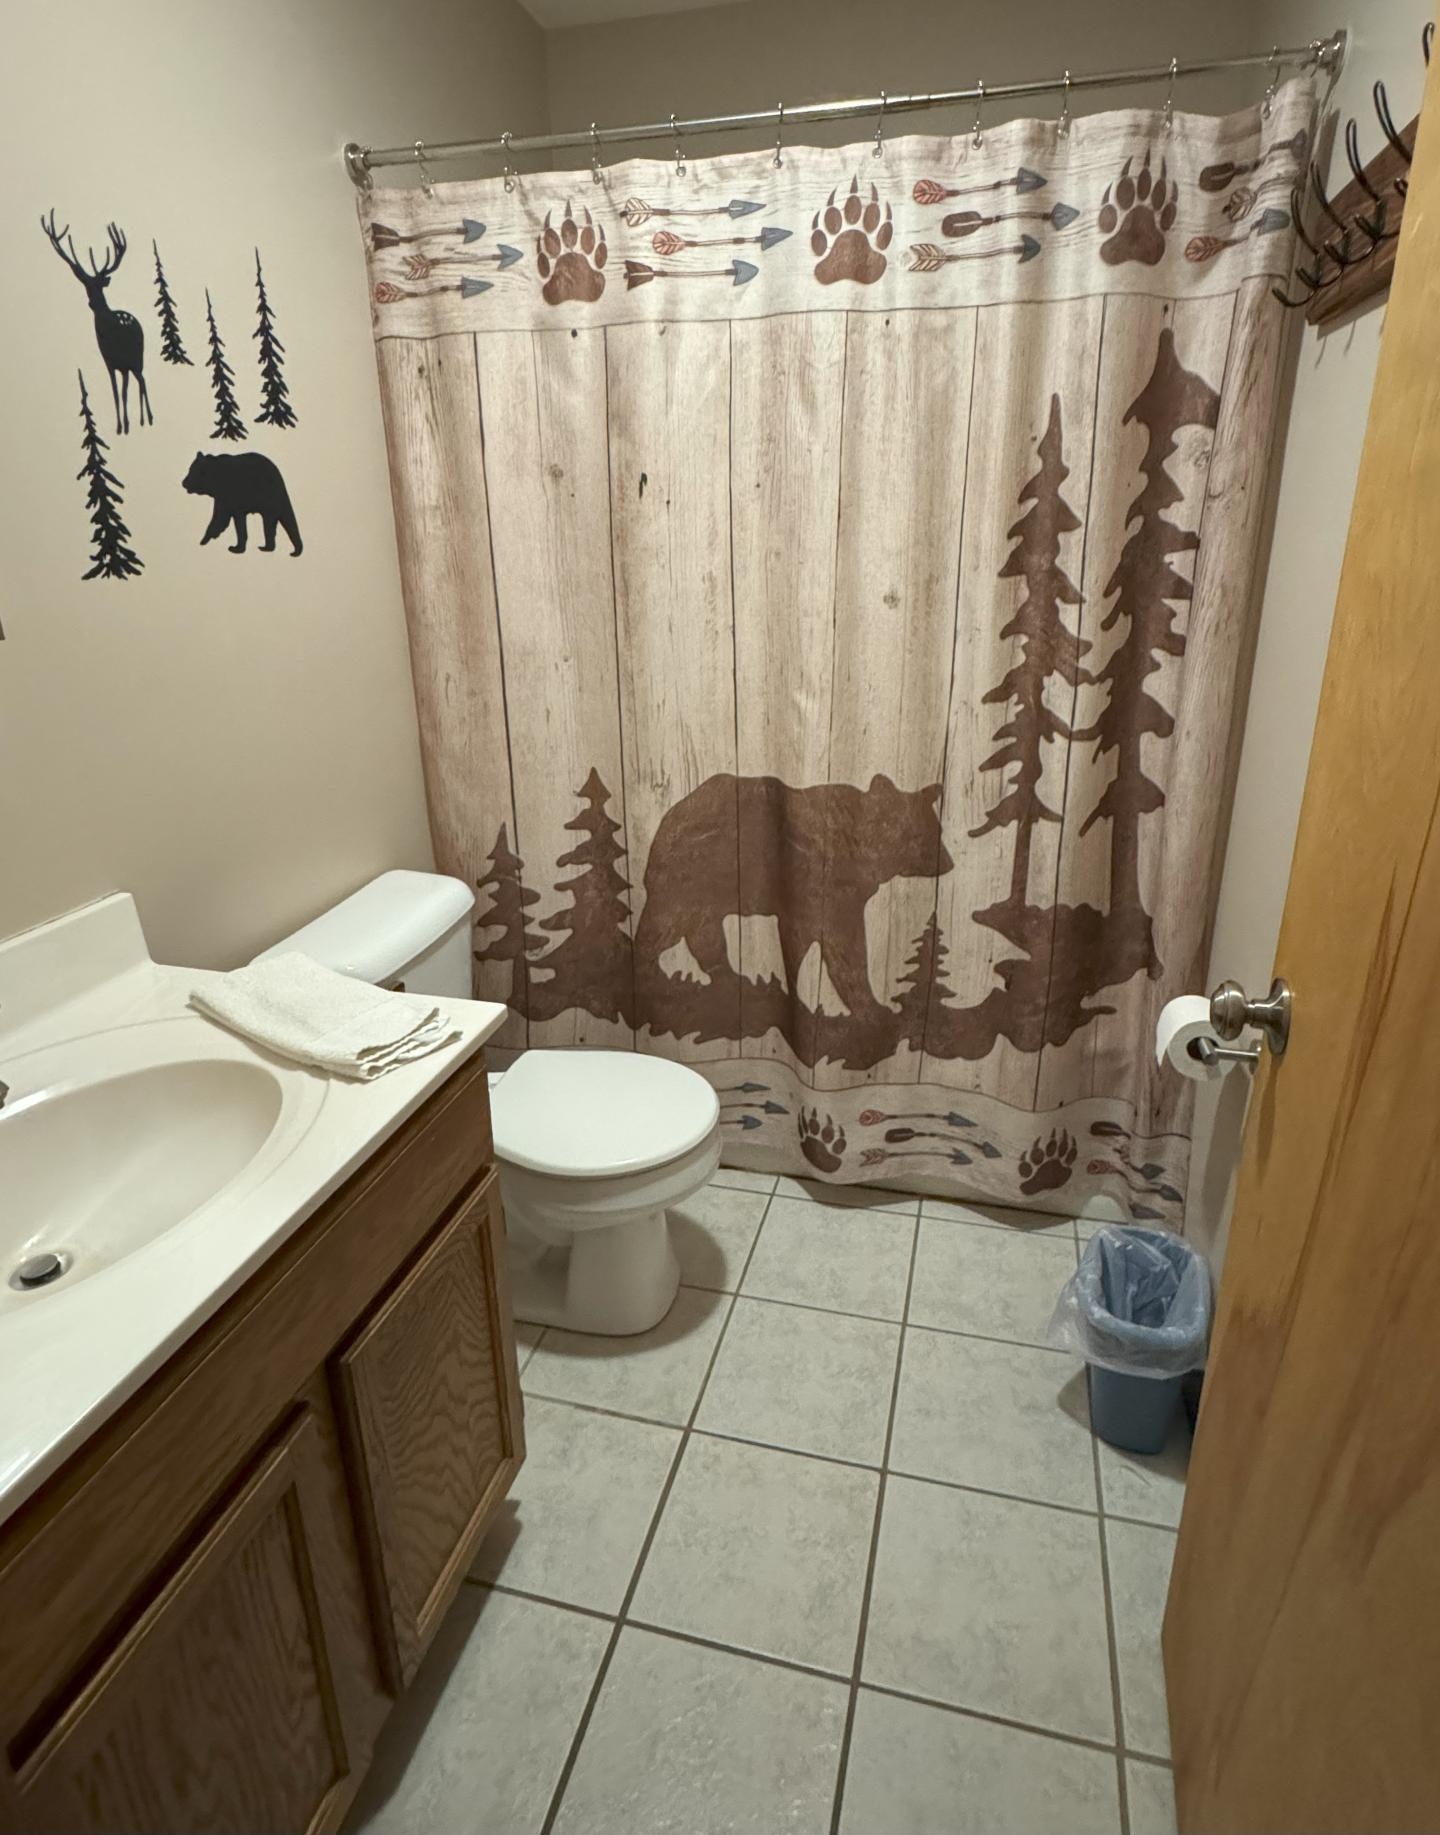
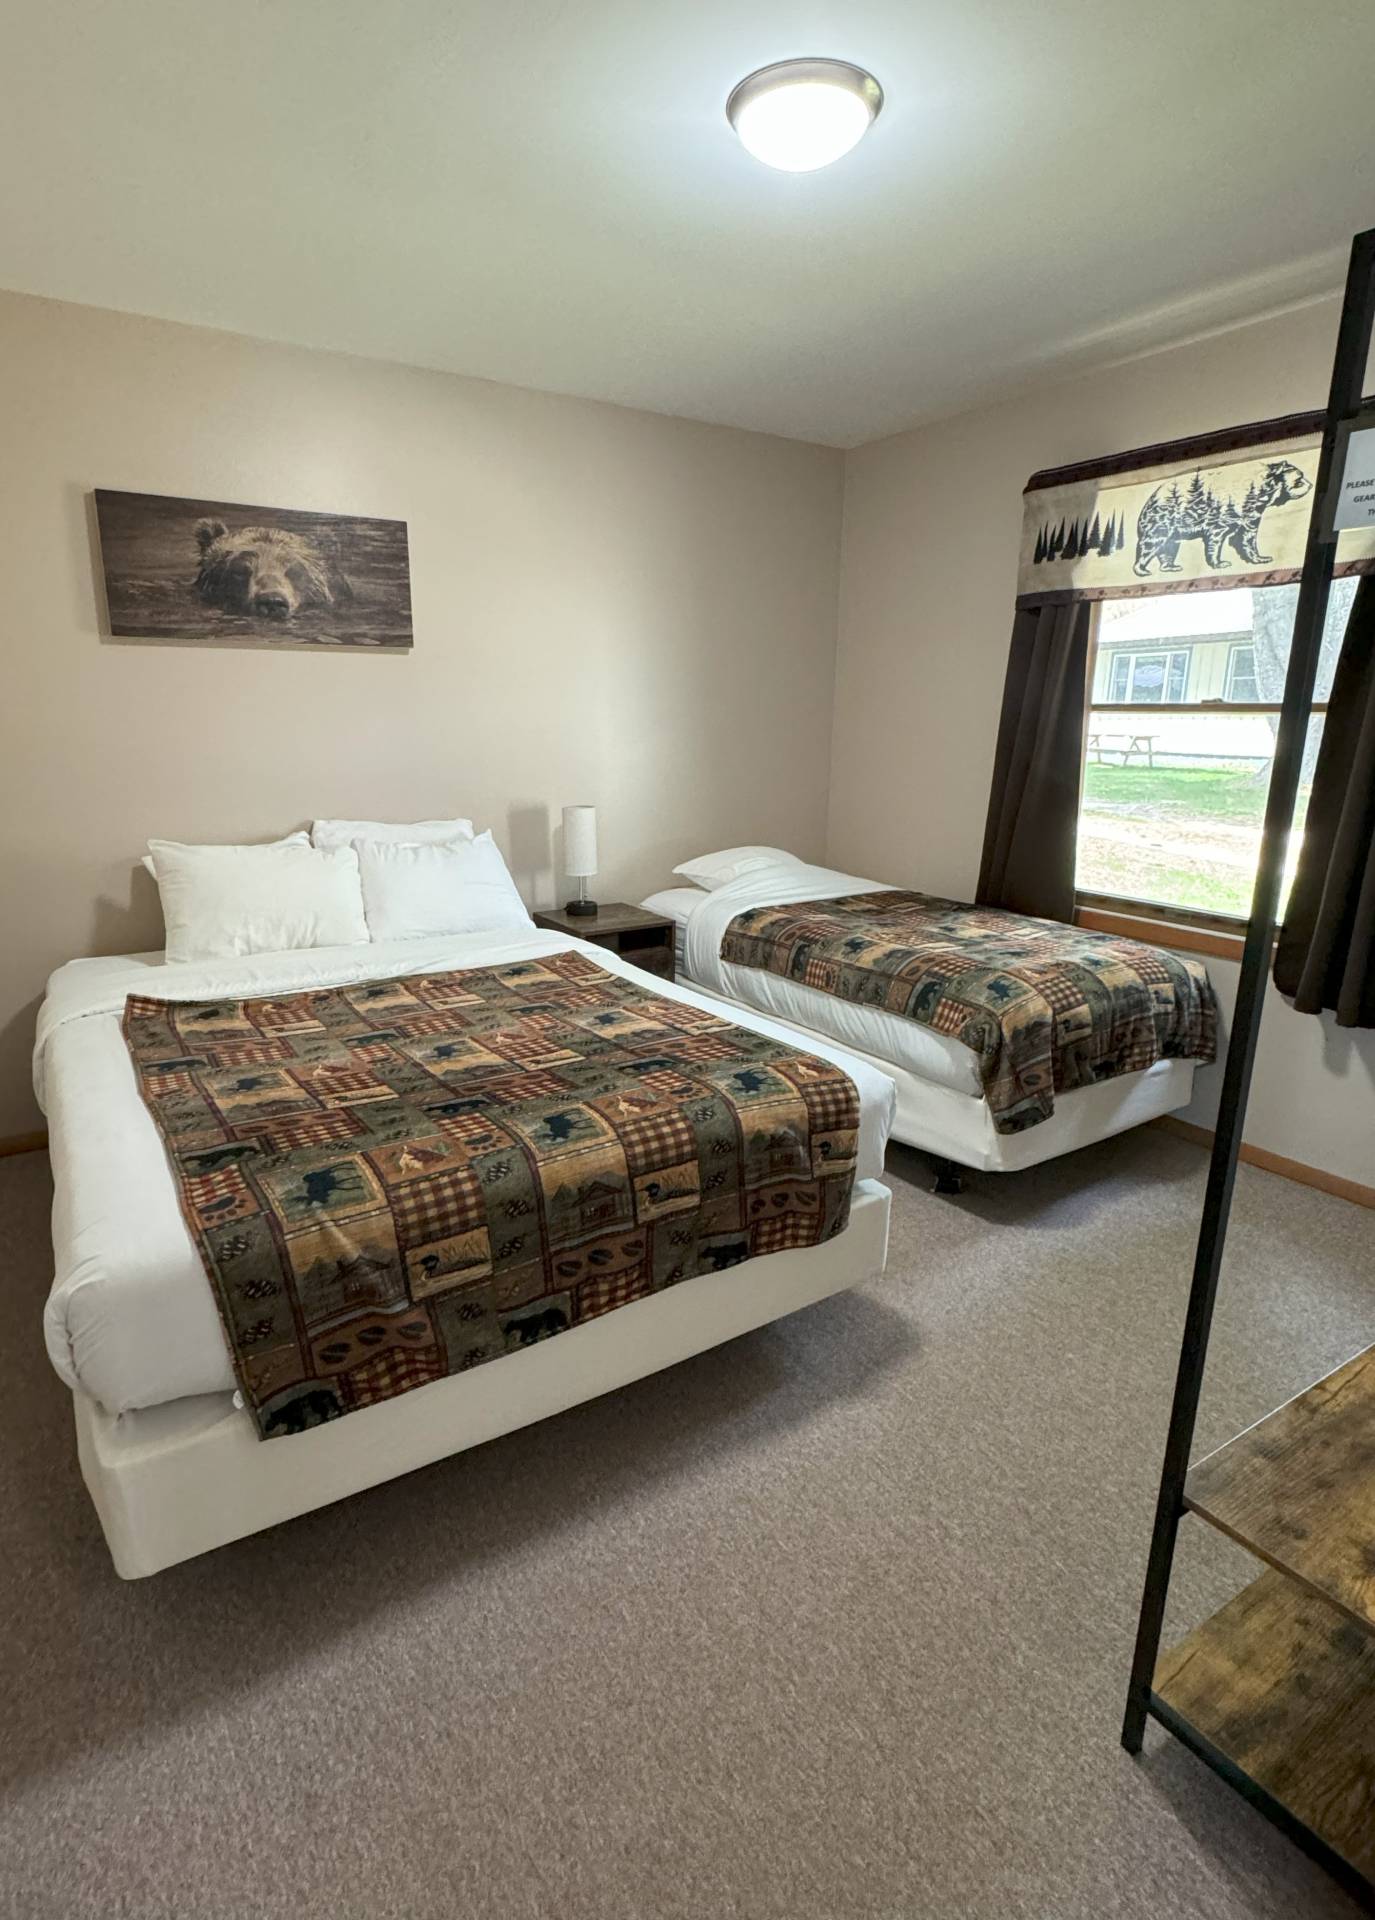
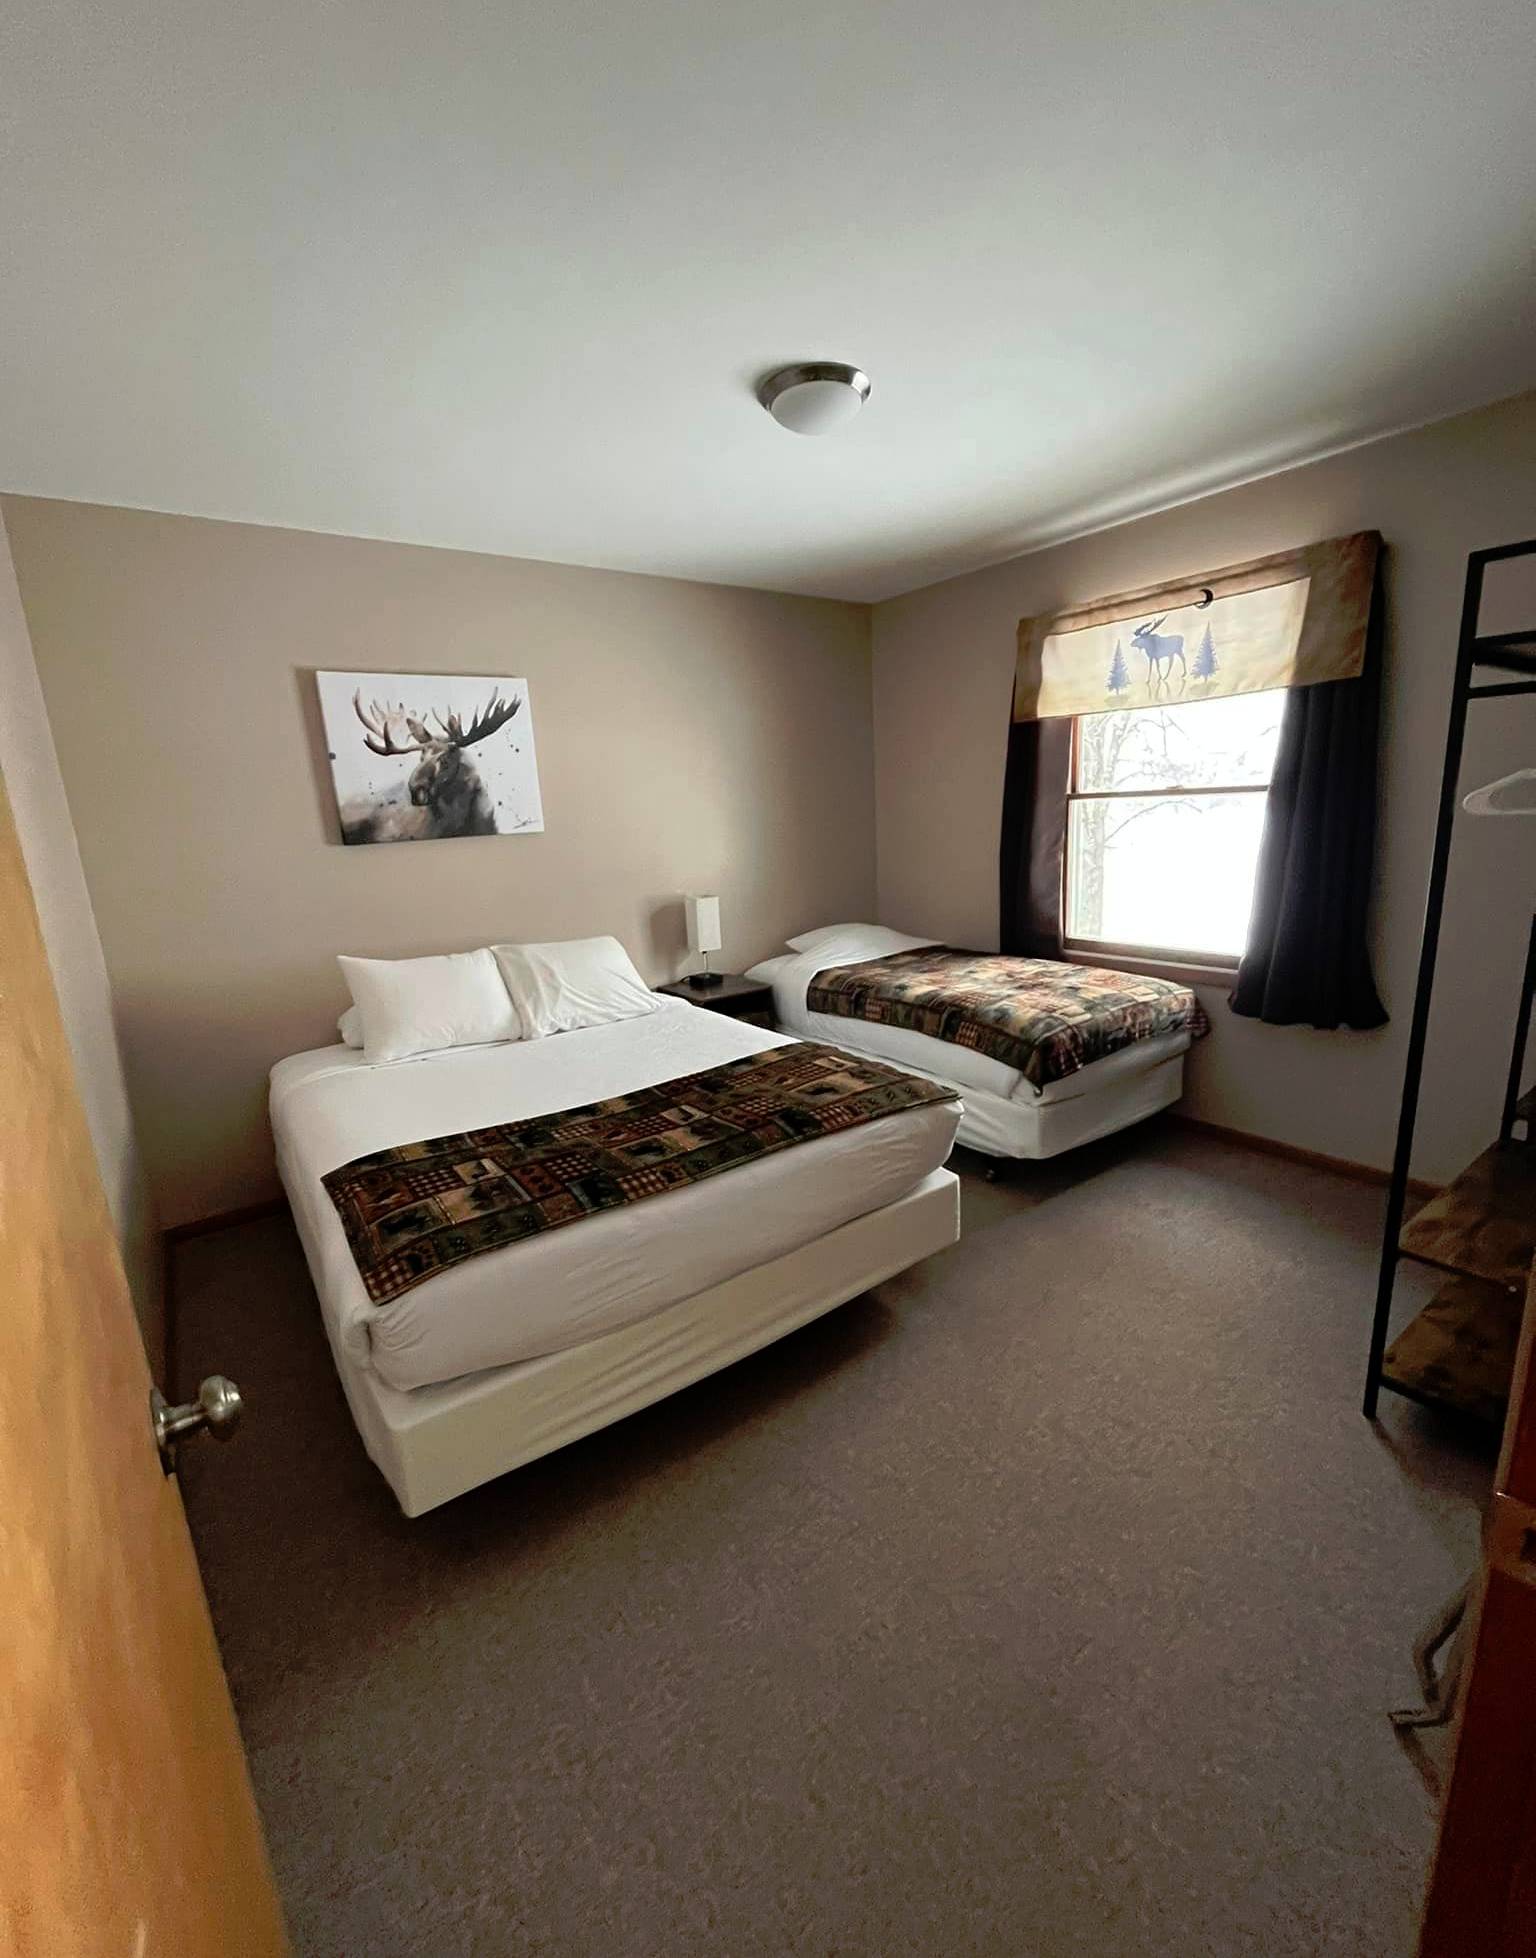
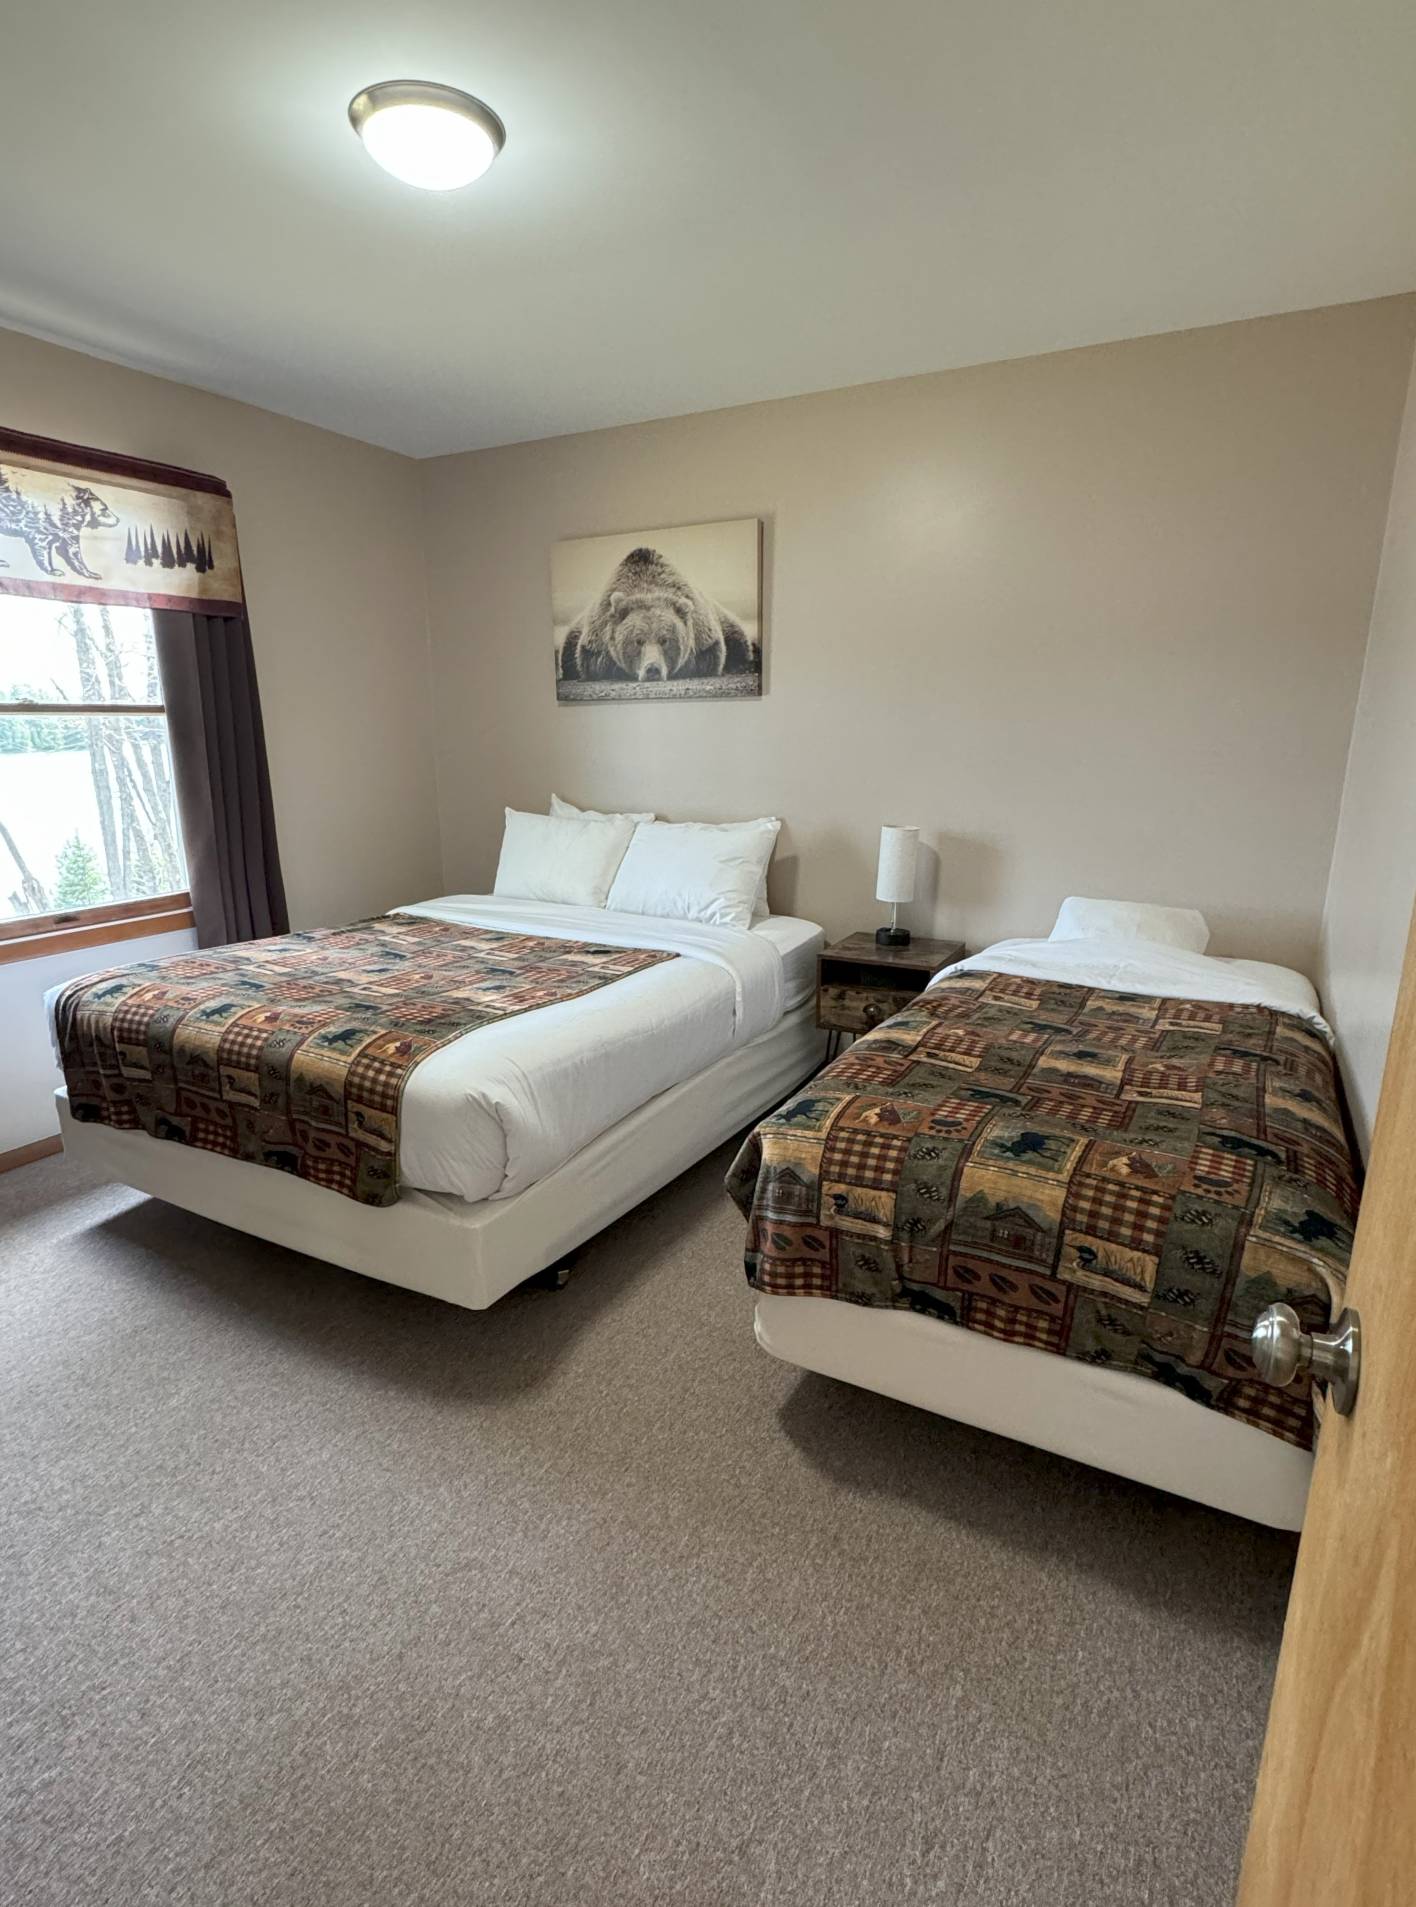
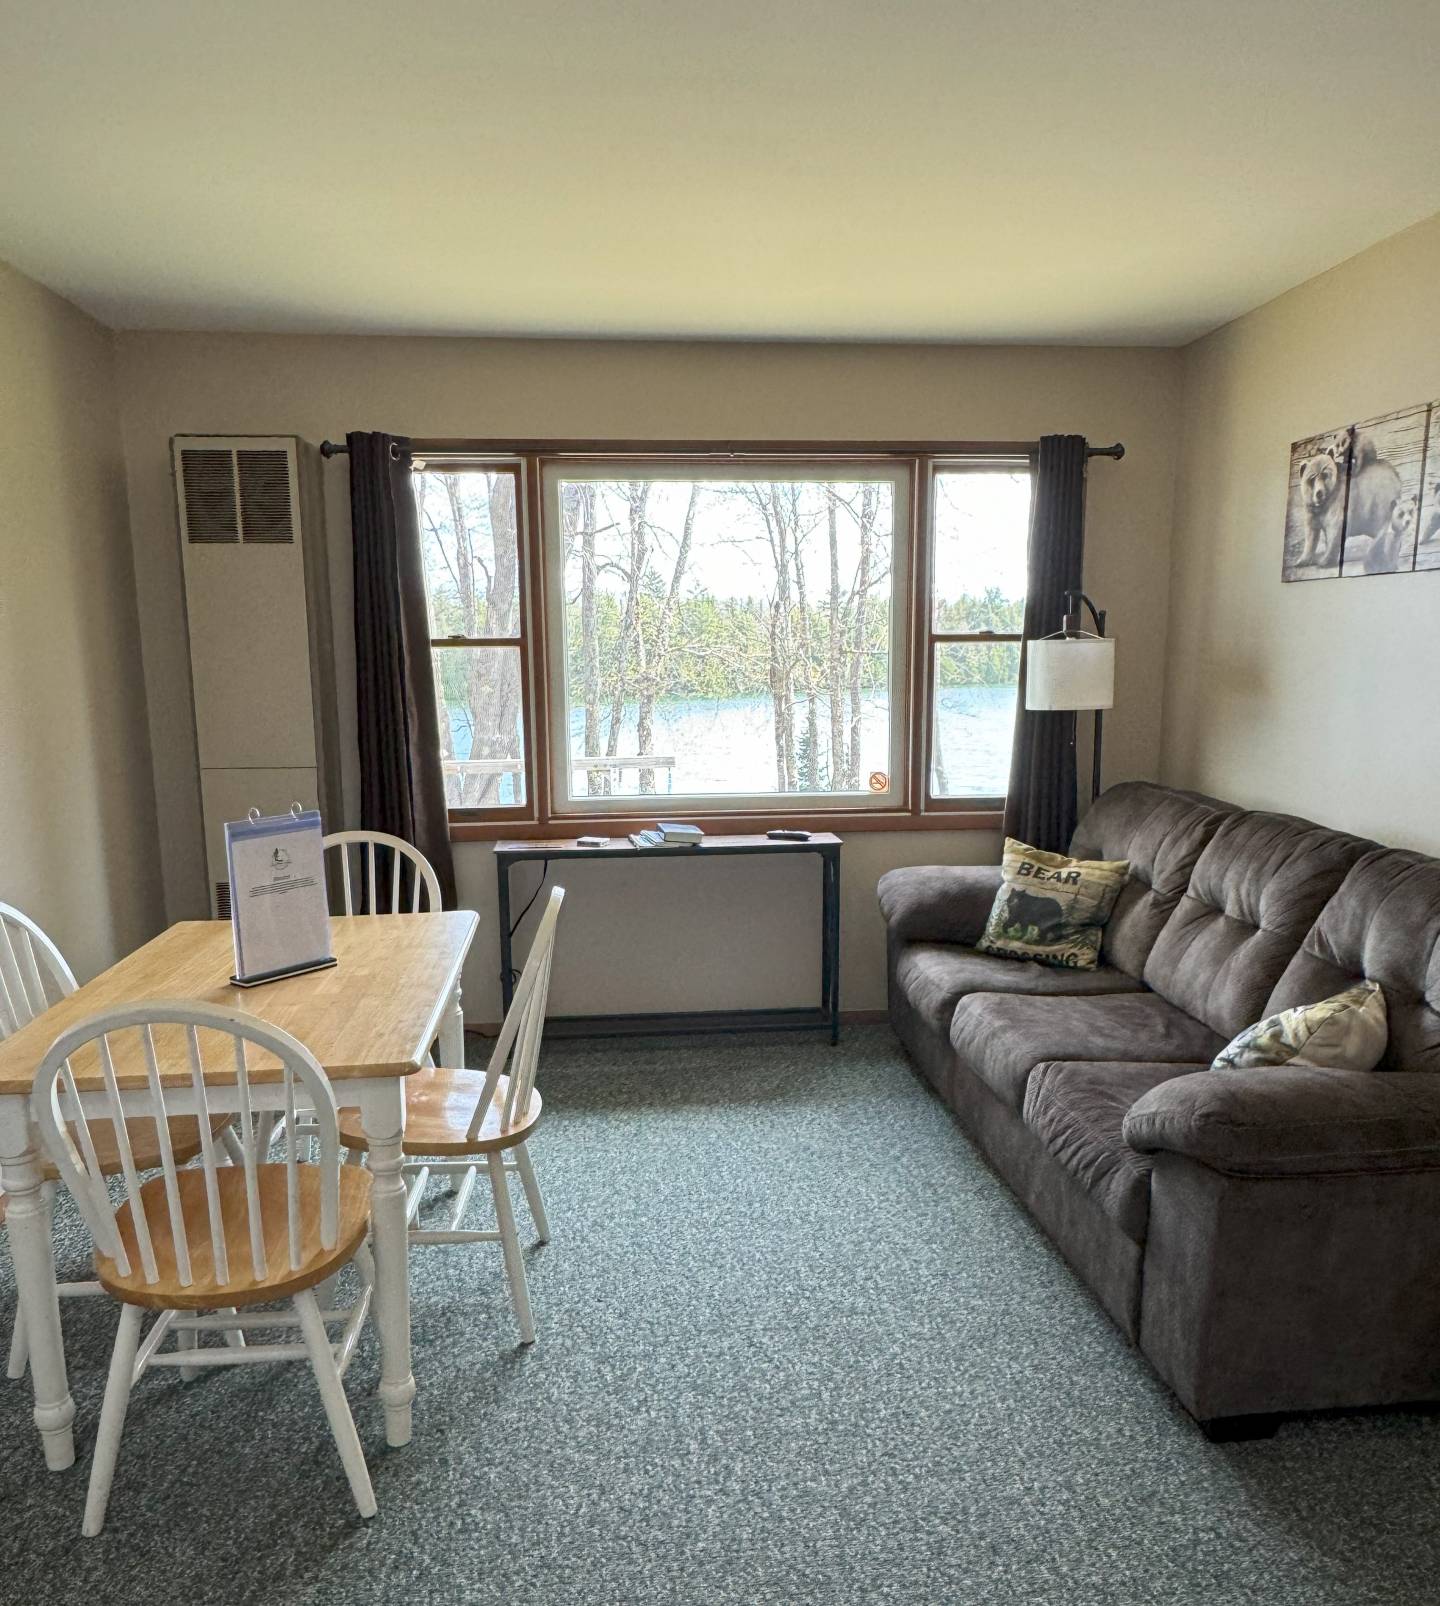
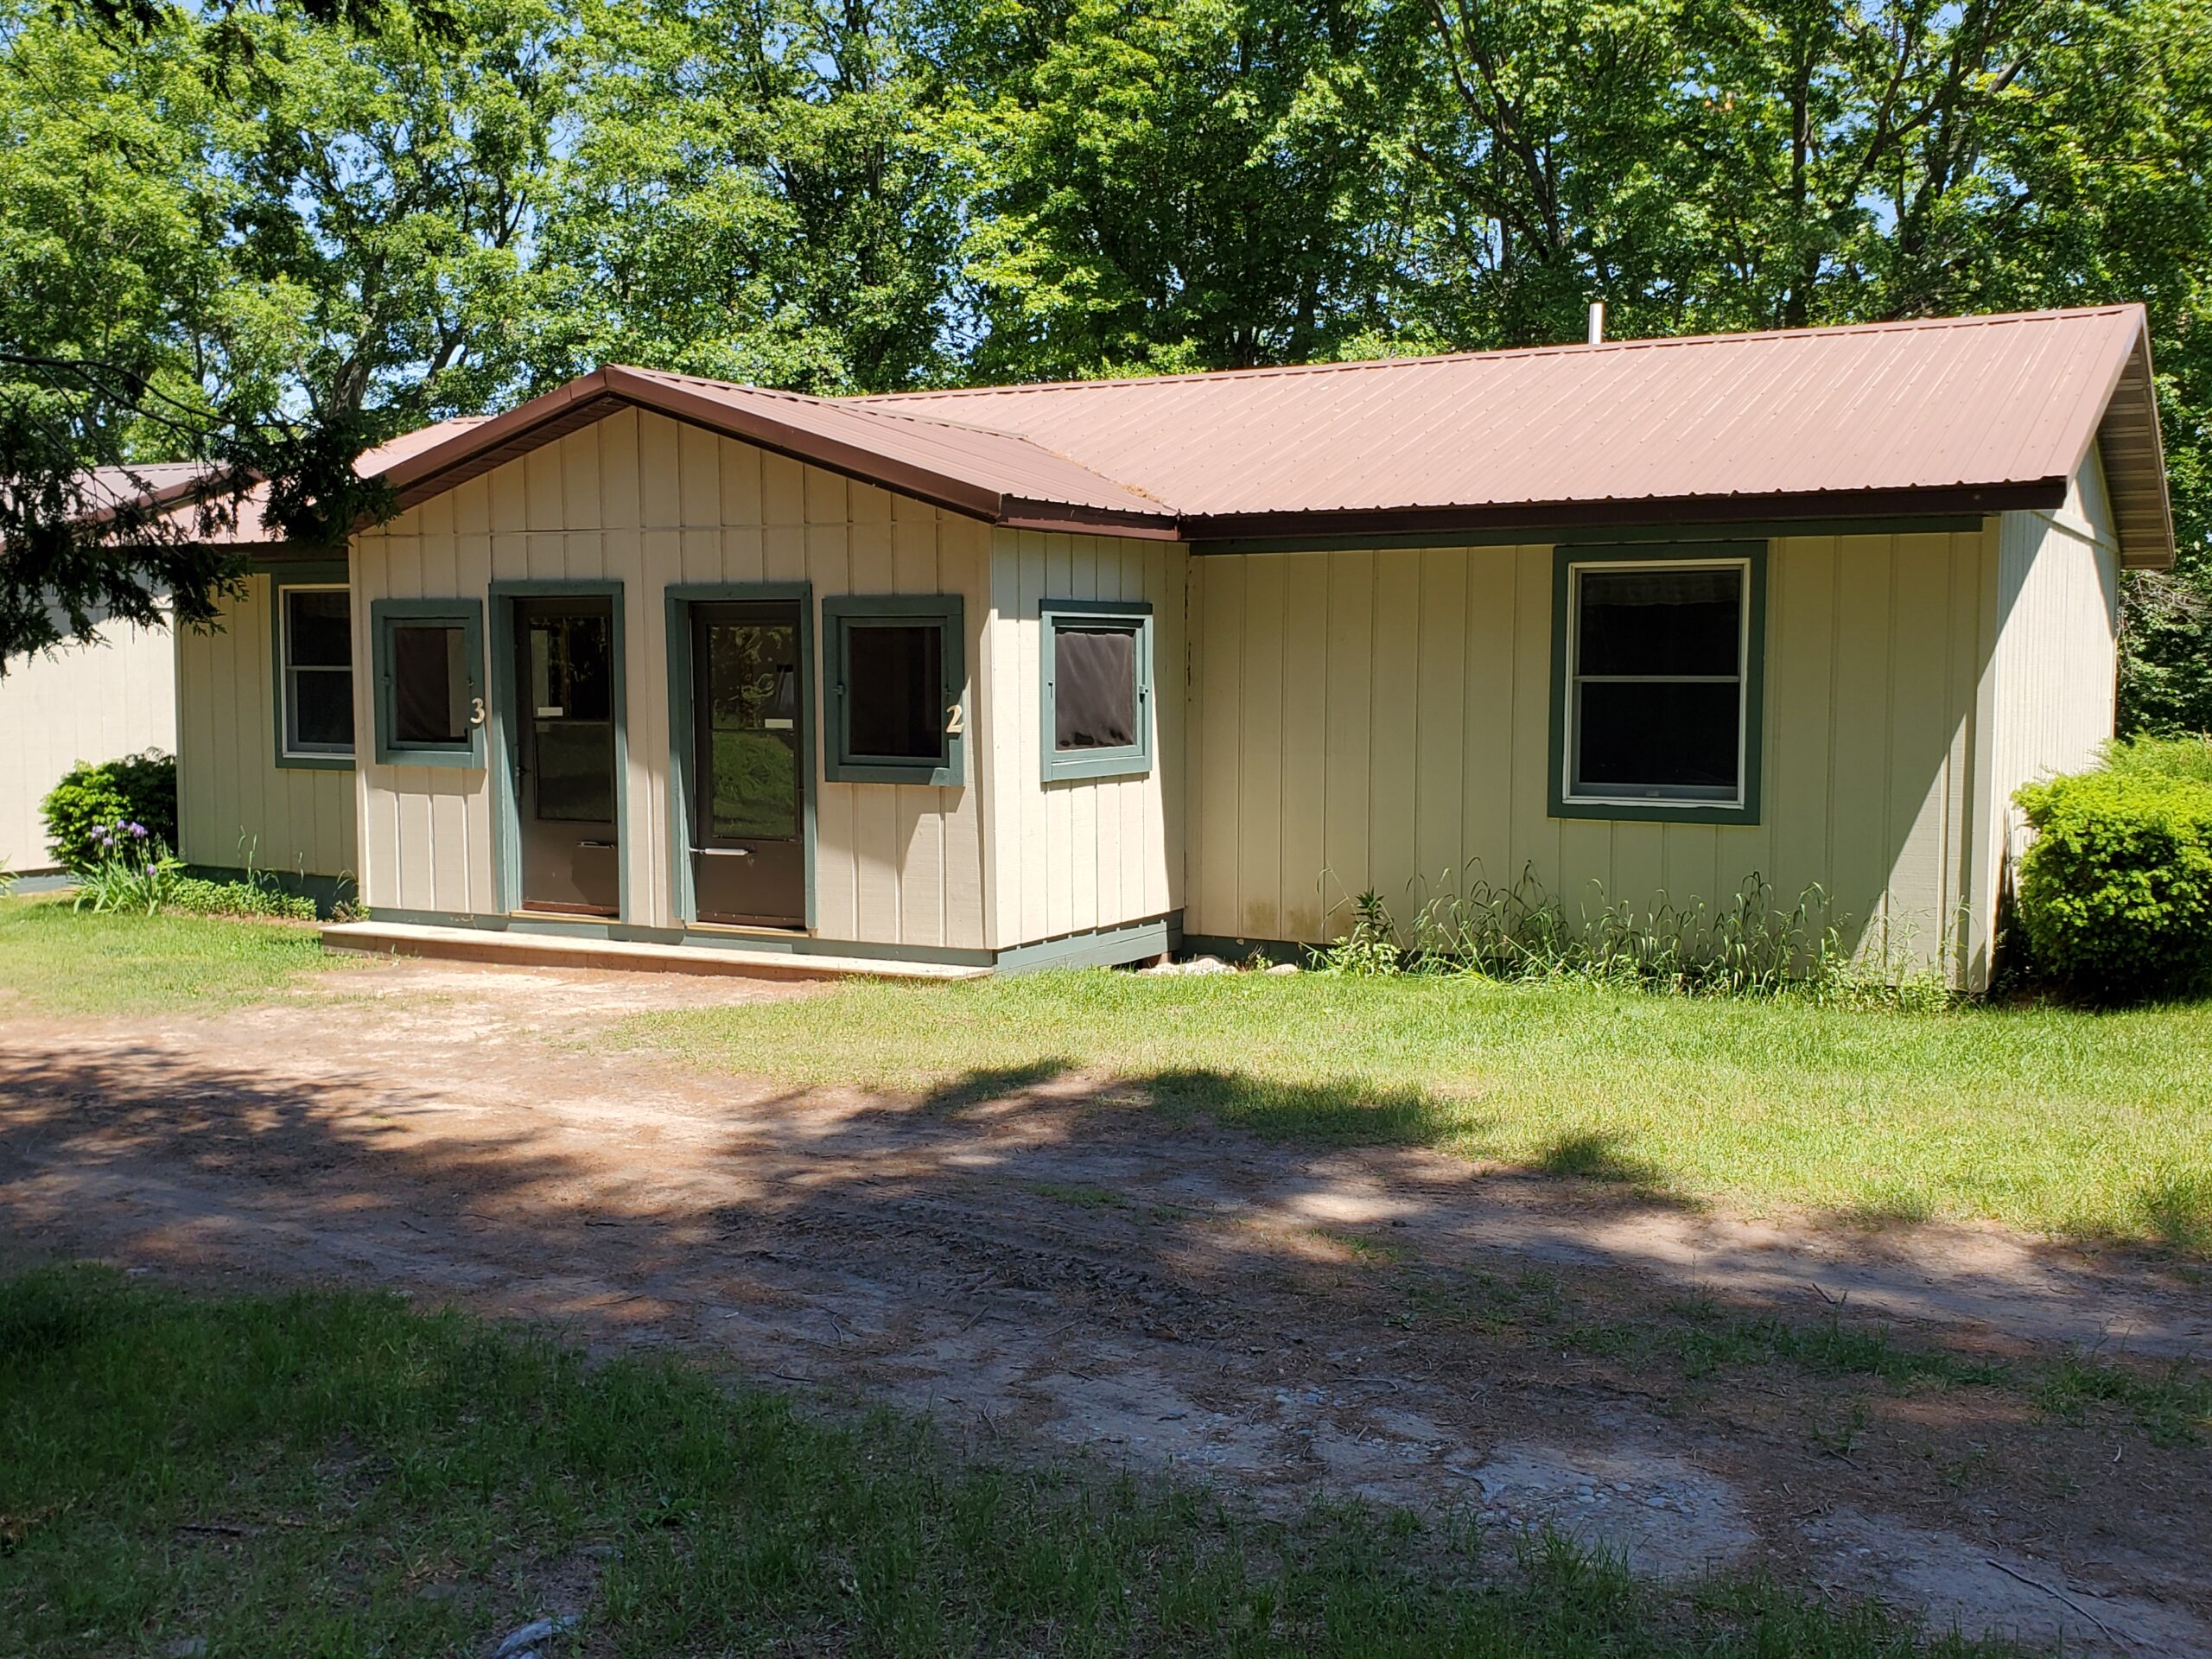
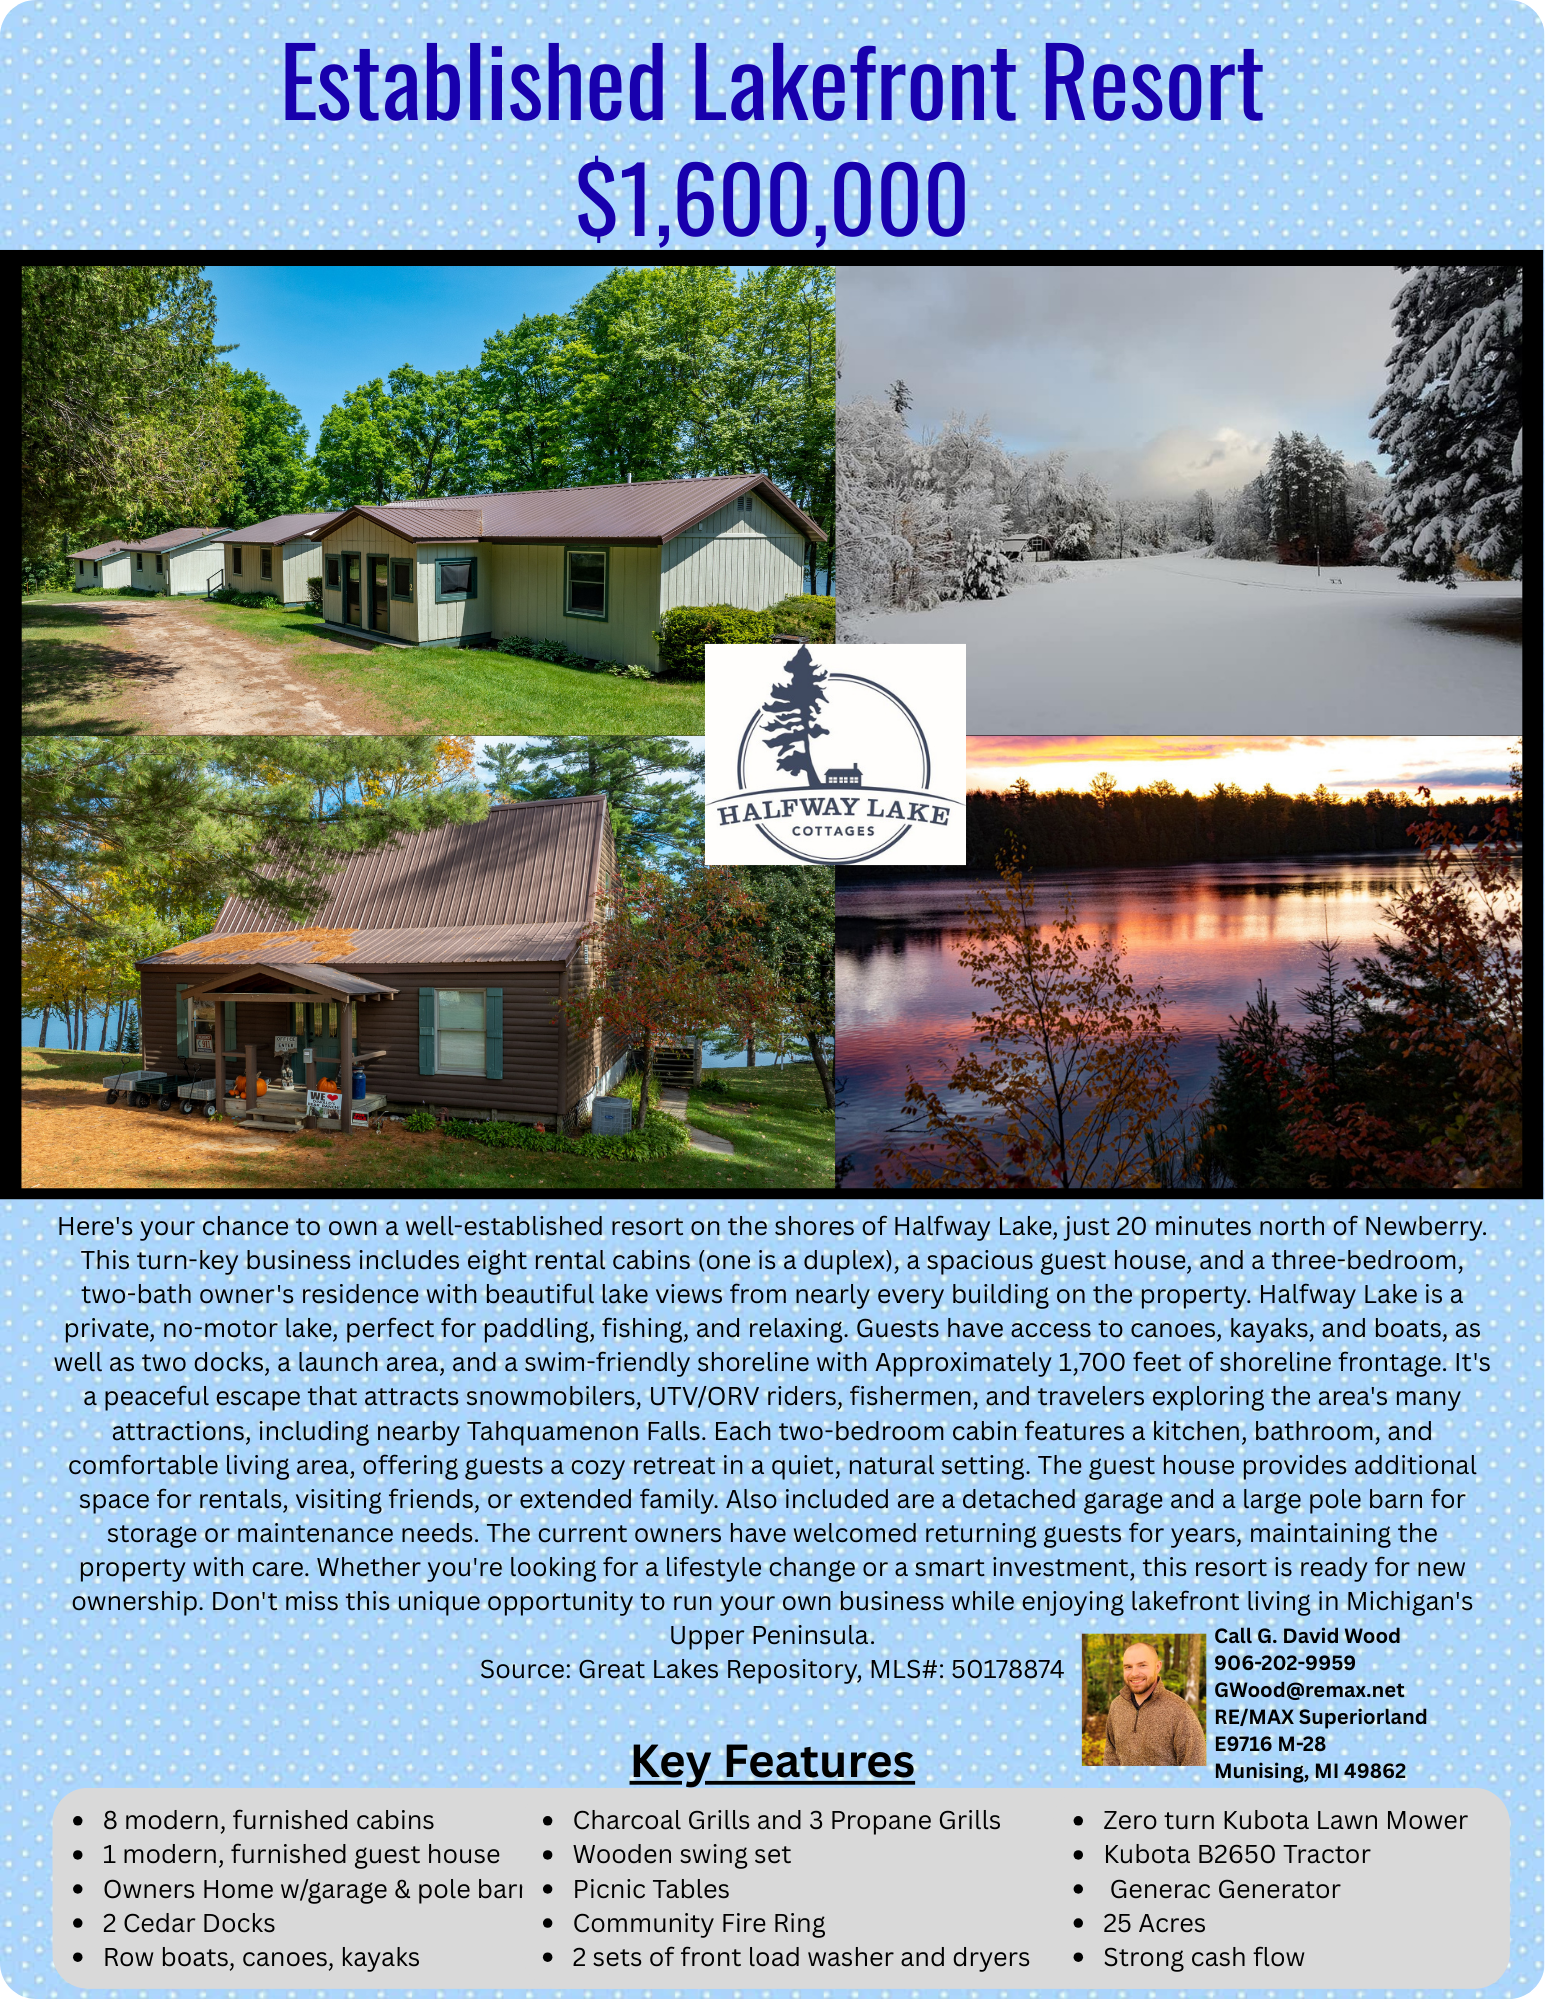
Click on the images below to open photos of cabin #1 and #2 to full size.


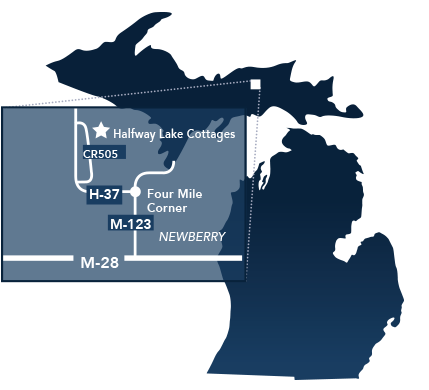
Halfway Lake Cottages, LLC
16878 County Road 505
Newberry, MI 49868
tel 1.810.531.1344
Email Us
View on Mapquest
View on Tripadvisor
16878 County Road 505
Newberry, MI 49868
tel 1.810.531.1344
Email Us
View on Mapquest
View on Tripadvisor
© 2026 Designed by Landgraff Design Group